非洲部落吃什么?(西非和南非哪个好?)
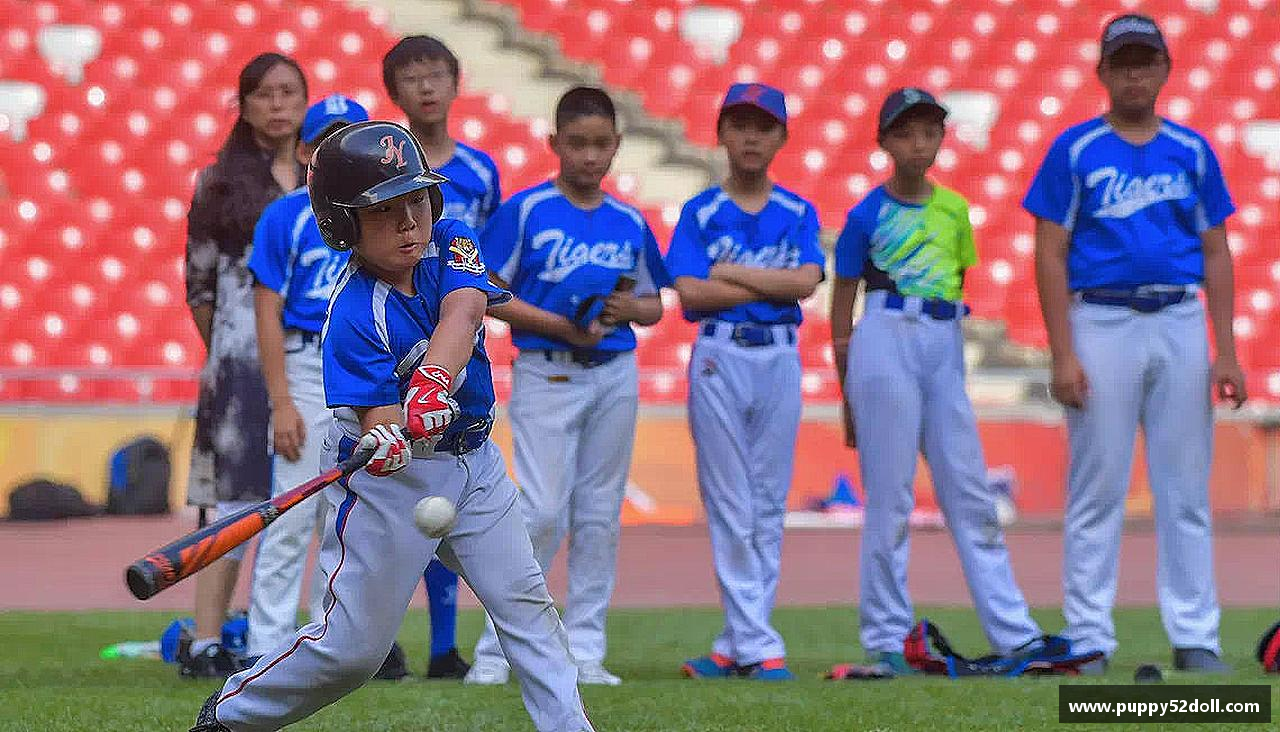
1.非洲部落吃什么?1.玉米糊这是大多数非洲人的主食,由玉米粉或木薯粉制成。之所以用这个当主食,不仅是符合主食的条件,最重要的是价格便宜。对于非洲人来说,这是一种负担得起的食物。这种玉米糊的制作比较简单,就是在锅中加水,加入玉米粉或木薯粉,然后不停地搅拌,最后将其搅拌成粘稠的状态,然后将其放在盘子中...
阅读若跳转连接失效,请再右下角刷新浏览器或换其他浏览器打开网址!
半岛游戏官网成立于2005年,总部位于中国广西桂平市,是一家专注于体育资讯信息科技领域的公司。公司致力于为体育行业提供全方位的信息科技解决方案,包括体育赛事数据采集与分析、体育新闻和资讯平台开发、体育数据挖掘和人工智能应用等服务。
作为行业领先的体育资讯信息科技公司,我们拥有一支由技术专家、数据分析师和体育行业专业人士组成的高效团队,不断致力于创新和技术突破,为客户提供最优质的服务和解决方案。通过与体育赛事机构、媒体公司和体育相关企业的紧密合作,我们为客户提供了多元化的信息科技产品和服务,为体育产业的发展和创新注入了持续的动力。
公司秉承“科技引领,信息创新”的理念,不断加强内部研发能力,不断拓展国内外市场,已经成为国内外众多体育组织和企业信赖的合作伙伴。我们将继续秉承以客户需求为导向,以技术创新为动力,为体育行业的发展贡献我们的智慧和力量。
半岛游戏官网愿与您携手共创美好未来,在信息科技的浪潮中谱写体育产业的辉煌篇章。
了解我们

体育赛事直播
提供各类体育赛事的在线直播和赛后解说;

运动健康咨询
提供运动健康知识普及和健身计划定制服务;

建立体育粉丝社区和会员俱乐部,提供专属福利和活动;

体育赛事裁判培训
为有志从事裁判工作的人员提供专业的培训和认证服务;

体育场馆管理
提供体育场馆设备维护、场地预订和活动策划服务;

体育场馆管理
提供体育场馆设备维护、场地预订和活动策划服务;
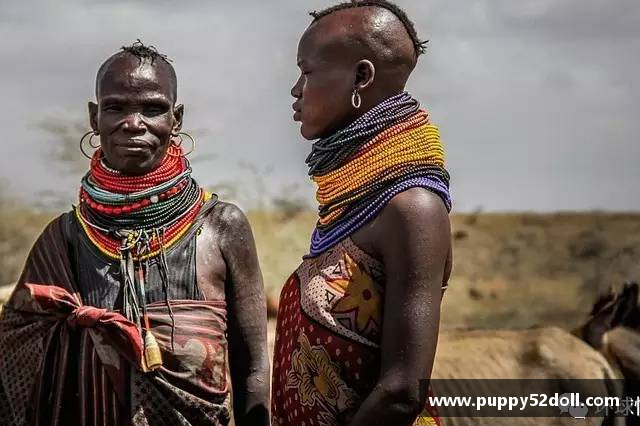
1.非洲部落吃什么?1.玉米糊这是大多数非洲人的主食,由玉米粉或木薯粉制成。之所以用这个当主食,不仅是符合主食的条件,最重要的是价格便宜。对于非洲人来说,这是一种负担得起的食物。这种玉米糊的制作比较简单,就是在锅中加水,加入玉米粉或木薯粉,然后不停地搅拌,最后将其搅拌成粘稠的状态,然后将其放在盘子中...
阅读
1.里昂现在有哪些著名的明星?上帝啊,救命啊?门将洛里斯,法国队目前的第一门将,中场皮亚尼奇和波黑恶魔,有望成为下一个超级巨星,老将戈乌,法国国脚,中场图拉朗,法国国家队的主力中场。我认为只有这4个人可以算明星。其他人名气也有 右后卫克莱尔,法国前替补右后卫,但长年伤病 中卫布姆松,著名水货,但目前...
阅读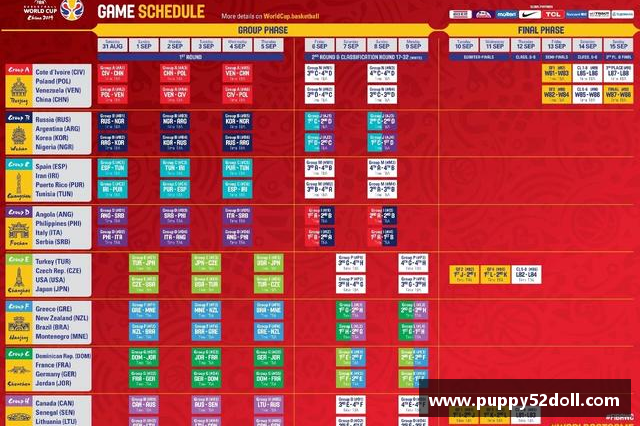
1.男篮世界杯有几支球队?有32支队伍。FIBA篮球世界杯简称“篮球世界杯”,其前身是1950年举行的世界男子篮球锦标赛。2012年1月28日,国际篮联宣布世界篮球锦标赛更名为篮球世界杯。国际篮联篮球世界杯是由国际篮联主办的世界最高级别的国家队级篮球赛事,每四年举办一次。从2019年开始,国际篮联篮...
阅读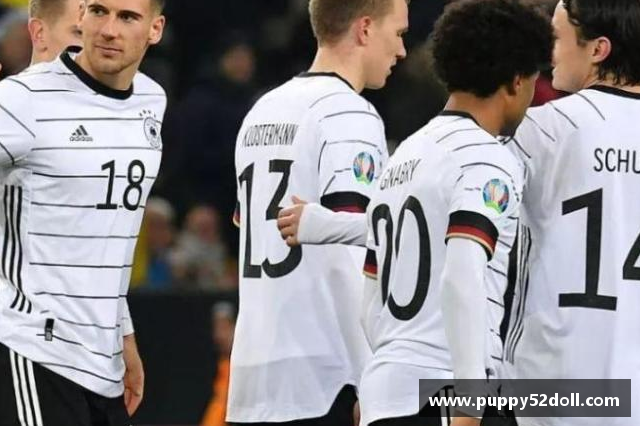
1.2021年欧洲杯的组织者是谁?2021年欧洲杯是最特别的欧洲杯。不仅因为疫情原因,举办时间推迟了一年,而且举办地和举办地的安排也与上届欧洲杯完全不同。众所周知,在欧洲杯和世界杯等国际比赛中,每项比赛都将由一个国家主办,偶尔也会由两个国家联合主办。这就是我们所说的大师。所有比赛都将在主办国的场馆举...
阅读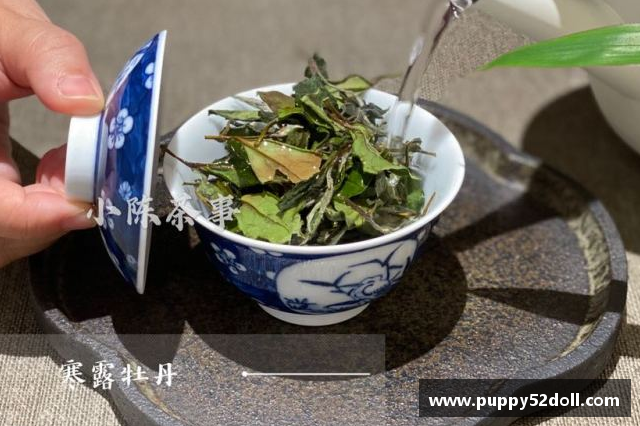
1.110毫升的盖碗适合多大尺寸的茶杯?最好是100~110毫升的带盖碗的茶杯,大小适中,素淡,通用,友好,普及度高,实用。泡茶的时候也可以很好的把握,很容易握在手心里。对于汤来说,它更方便,不会太烫,所以100 ~ 110毫升的带盖碗的茶杯适合每天冲泡各种茶。半岛&#x...
阅读
1.冬奥会女篮的最终排名是多少?冬奥会没有女篮比赛,但东京奥运会应该是女篮比赛和排名赛。2021年东京奥运会已经闭幕,原定于2020年举行,但受全球疫情影响推迟了一年。在这次比赛中,活动的组织非常成功,竞争非常激烈。美国以39枚金牌位居金牌榜第一,中国以38枚金牌位居第二,日本队以24枚金牌排名第三...
阅读
这个公司的体育资讯内容非常全面且权威,我相信这里能够获取到最准确的体育新闻和解说!

使用这个公司的体育应用程序十分方便,能够随时随地获取最新的比赛结果和新闻资讯,非常实用!

他们对体育明星的专访报道很有深度,让我更加了解运动员的内心世界。

这个公司的体育新闻报道质量很高,经常有一些独家报道,让我觉得获取这些新闻非常有价值!

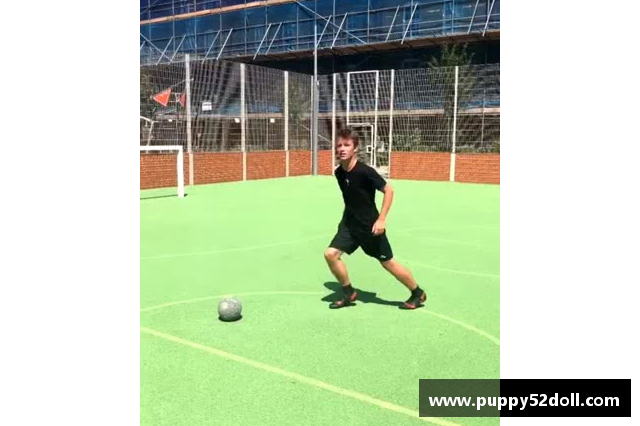
1.足球可以像篮球一样玩吗?足球不能当篮球打。足球比篮球轻。如果你打篮球,很容易把足球弄坏,这会损坏足球。这是不尊重篮球的行为!2.它太小太轻了。我习惯投足球,但不习惯投篮球。3.很容易变形,感觉不好。4.很难打,也没有篮球。5.篮球是篮球,足球是足球。足球可以像篮球一样玩。足球和篮球都是球类运动,...
阅读
1.科比最经典的一句话是什么?如果你害怕失败,你就会失败。只有科比能单挑我。朋友来来去去,只有冠军的旗帜永远飘扬。要得到一切,你必须付出一切,征服一切。即使世界抛弃了我,至少我还有篮球!总得有人赢,为什么不是我?我所做的就是不断重复。永远微笑着面对生活。我不需要尊重和害怕任何人!即使这个世界抛弃了我...
阅读
1.2020年NBA常规赛有多少场?72场比赛,2020年11月18日,NBA公布了2020-21赛季的赛制。常规赛将包括72场比赛。NBA 2020-2021赛季赛程:NBA2020-21赛季常规赛开始时间:2020年12月23日;NBA全明星周末:2021年3月6日至11日;2020-2021赛...
阅读
1.2005年世界杯主题曲?我不知道受试者是记错了时间还是输入时出错了。在这里我可以负责任地告诉你,2005年没有世界杯。首先,在世界杯88年的历史中,虽然有1962年智利世界杯的官方主题曲,但时间离我们很远,很少有人知道西班牙歌曲《摇滚世界》。众所周知,世界杯主题曲始于1986年墨西哥世界杯。19...
阅读
1、2002年世界杯预选赛在中国举行?2002年在韩国和日本举行的世界杯亚洲区十强预选赛于2001年8月底开始。中国队与阿联酋、卡塔尔、阿曼和乌兹别克斯坦同组。时隔近两个月,中国队以6胜1平1负积19分的成绩获得小组第一,昂首挺进世界杯决赛圈。中国的日程如下:中国队3比0阿拉伯联合酋长国队阿曼0:2...
阅读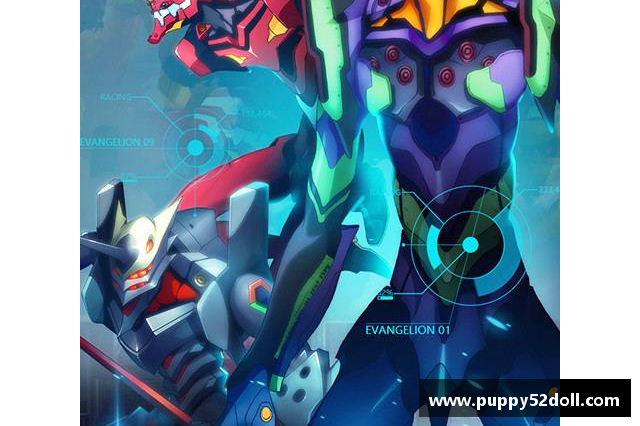
1.新世纪福音战士百科全书?《新世纪福音战士》是日本动画公司GAINAX于1995年制作的机甲科幻动画,简称EVA。以下是《新世纪福音战士》的一些基本信息,包括剧情、人物等相关内容:半岛游戏平台-剧情简介:《新世纪福...
阅读
是的,我们提供专业的体育赛事预测和分析服务,帮助用户更好地理解赛事趋势和结果。
您可以在公司官网或者APP上查看我们举办的体育活动的相关信息。
我们的订阅服务包括定期体育报告、独家访谈、赛事预测分析和赛事直播等内容。
我们会设立专门的客服团队负责处理用户的疑问和投诉,并尽快给予答复和解决方案。
您可以通过公司网站的联系页面,或者通过电子邮件和电话联系我们的客服部门。